Tips & Tricks
About Author
Tips & Tricks
Tips & Tricks
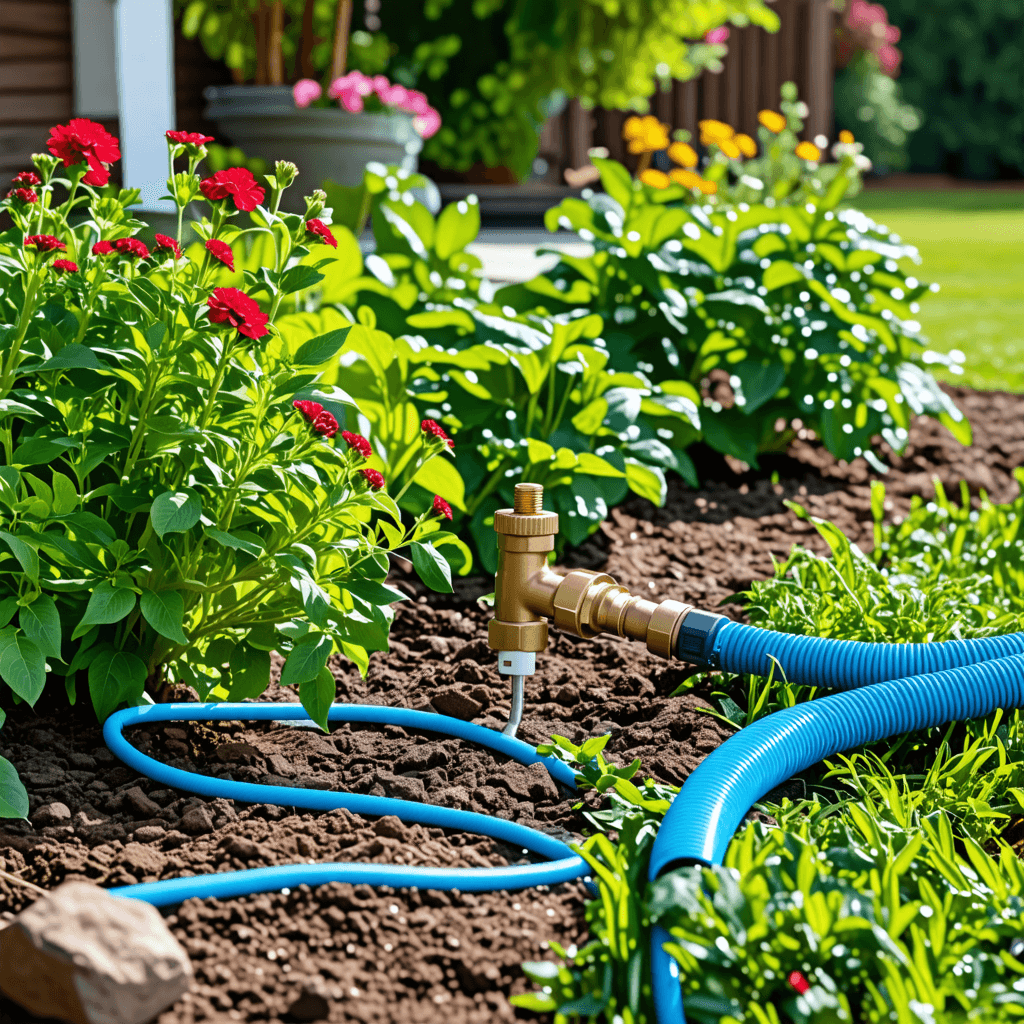
A DIY drip irrigation system is an excellent way to water your plants directly at their roots, minimizing water waste and ensuring they receive the moisture they need. This system uses a network of tubes and emitters to deliver water slowly and evenly, promoting healthier growth and reducing the risk of overwatering. We want to share a valuable resource related to landscaping checklists here.
Features and Benefits
Water Efficiency: Drip irrigation systems use less water than traditional watering methods by delivering water directly to the plant roots.
Time-Saving: Automating your watering schedule saves you time and ensures your garden is watered consistently.
Cost-Effective: DIY systems are cheaper than commercial ones and can be customized to fit your garden's specific needs.
Healthier Plants: By providing a consistent water supply, drip irrigation promotes deeper root growth and healthier plants.
Materials and Tools Needed
Mainline tubing (1/2 inch)
Drip emitters
Tubing cutter
Hose adapter
Filter and pressure regulator
Stakes or clips
End caps
Timer (optional)
Punch tool
Step-by-Step GuidePlan Your Layout
Sketch a layout of your garden, marking the location of each plant. Decide where to place the mainline tubing and the drip emitters. This will help you determine the length of tubing and the number of emitters needed.
Picture Idea: A sketched layout of a garden with tubing and emitters marked.
Install the Mainline Tubing
Connect the mainline tubing to your water source using a hose adapter, filter, and pressure regulator. Lay the tubing along your planned route, securing it with stakes or clips to keep it in place.
Picture Idea: Mainline tubing connected to a water source and laid out along the garden.
Cut the Tubing
Use the tubing cutter to cut the mainline tubing where you need to install drip emitters. Make sure the cuts are clean and straight.
Picture Idea: Tubing cutter cutting the mainline tubing.
Install the Emitters
Use a punch tool to make small holes in the mainline tubing at each plant location. Insert the drip emitters into the holes, ensuring they fit snugly.
Picture Idea: Punch tool creating holes in the tubing, and emitters being installed.
Cap the Ends
Cap the end of the mainline tubing using end caps to prevent water from escaping.
Picture Idea: End caps being installed on the tubing.
Test the System
Turn on the water and check for leaks. Adjust the emitters to ensure each plant receives the right amount of water.
Picture Idea: Water running through the system, with close-ups of emitters working.
Set Up a Timer (Optional)
For added convenience, install a timer to automate your watering schedule. This ensures your garden is watered consistently, even when you're not around.
Picture Idea: Timer being installed and set up.
Real-Life Applications
A DIY drip irrigation system can be used in various gardening setups, including:
Vegetable Gardens: Ensure your veggies receive consistent moisture for better yields.
Flower Beds: Keep your flowers blooming beautifully with precise watering.
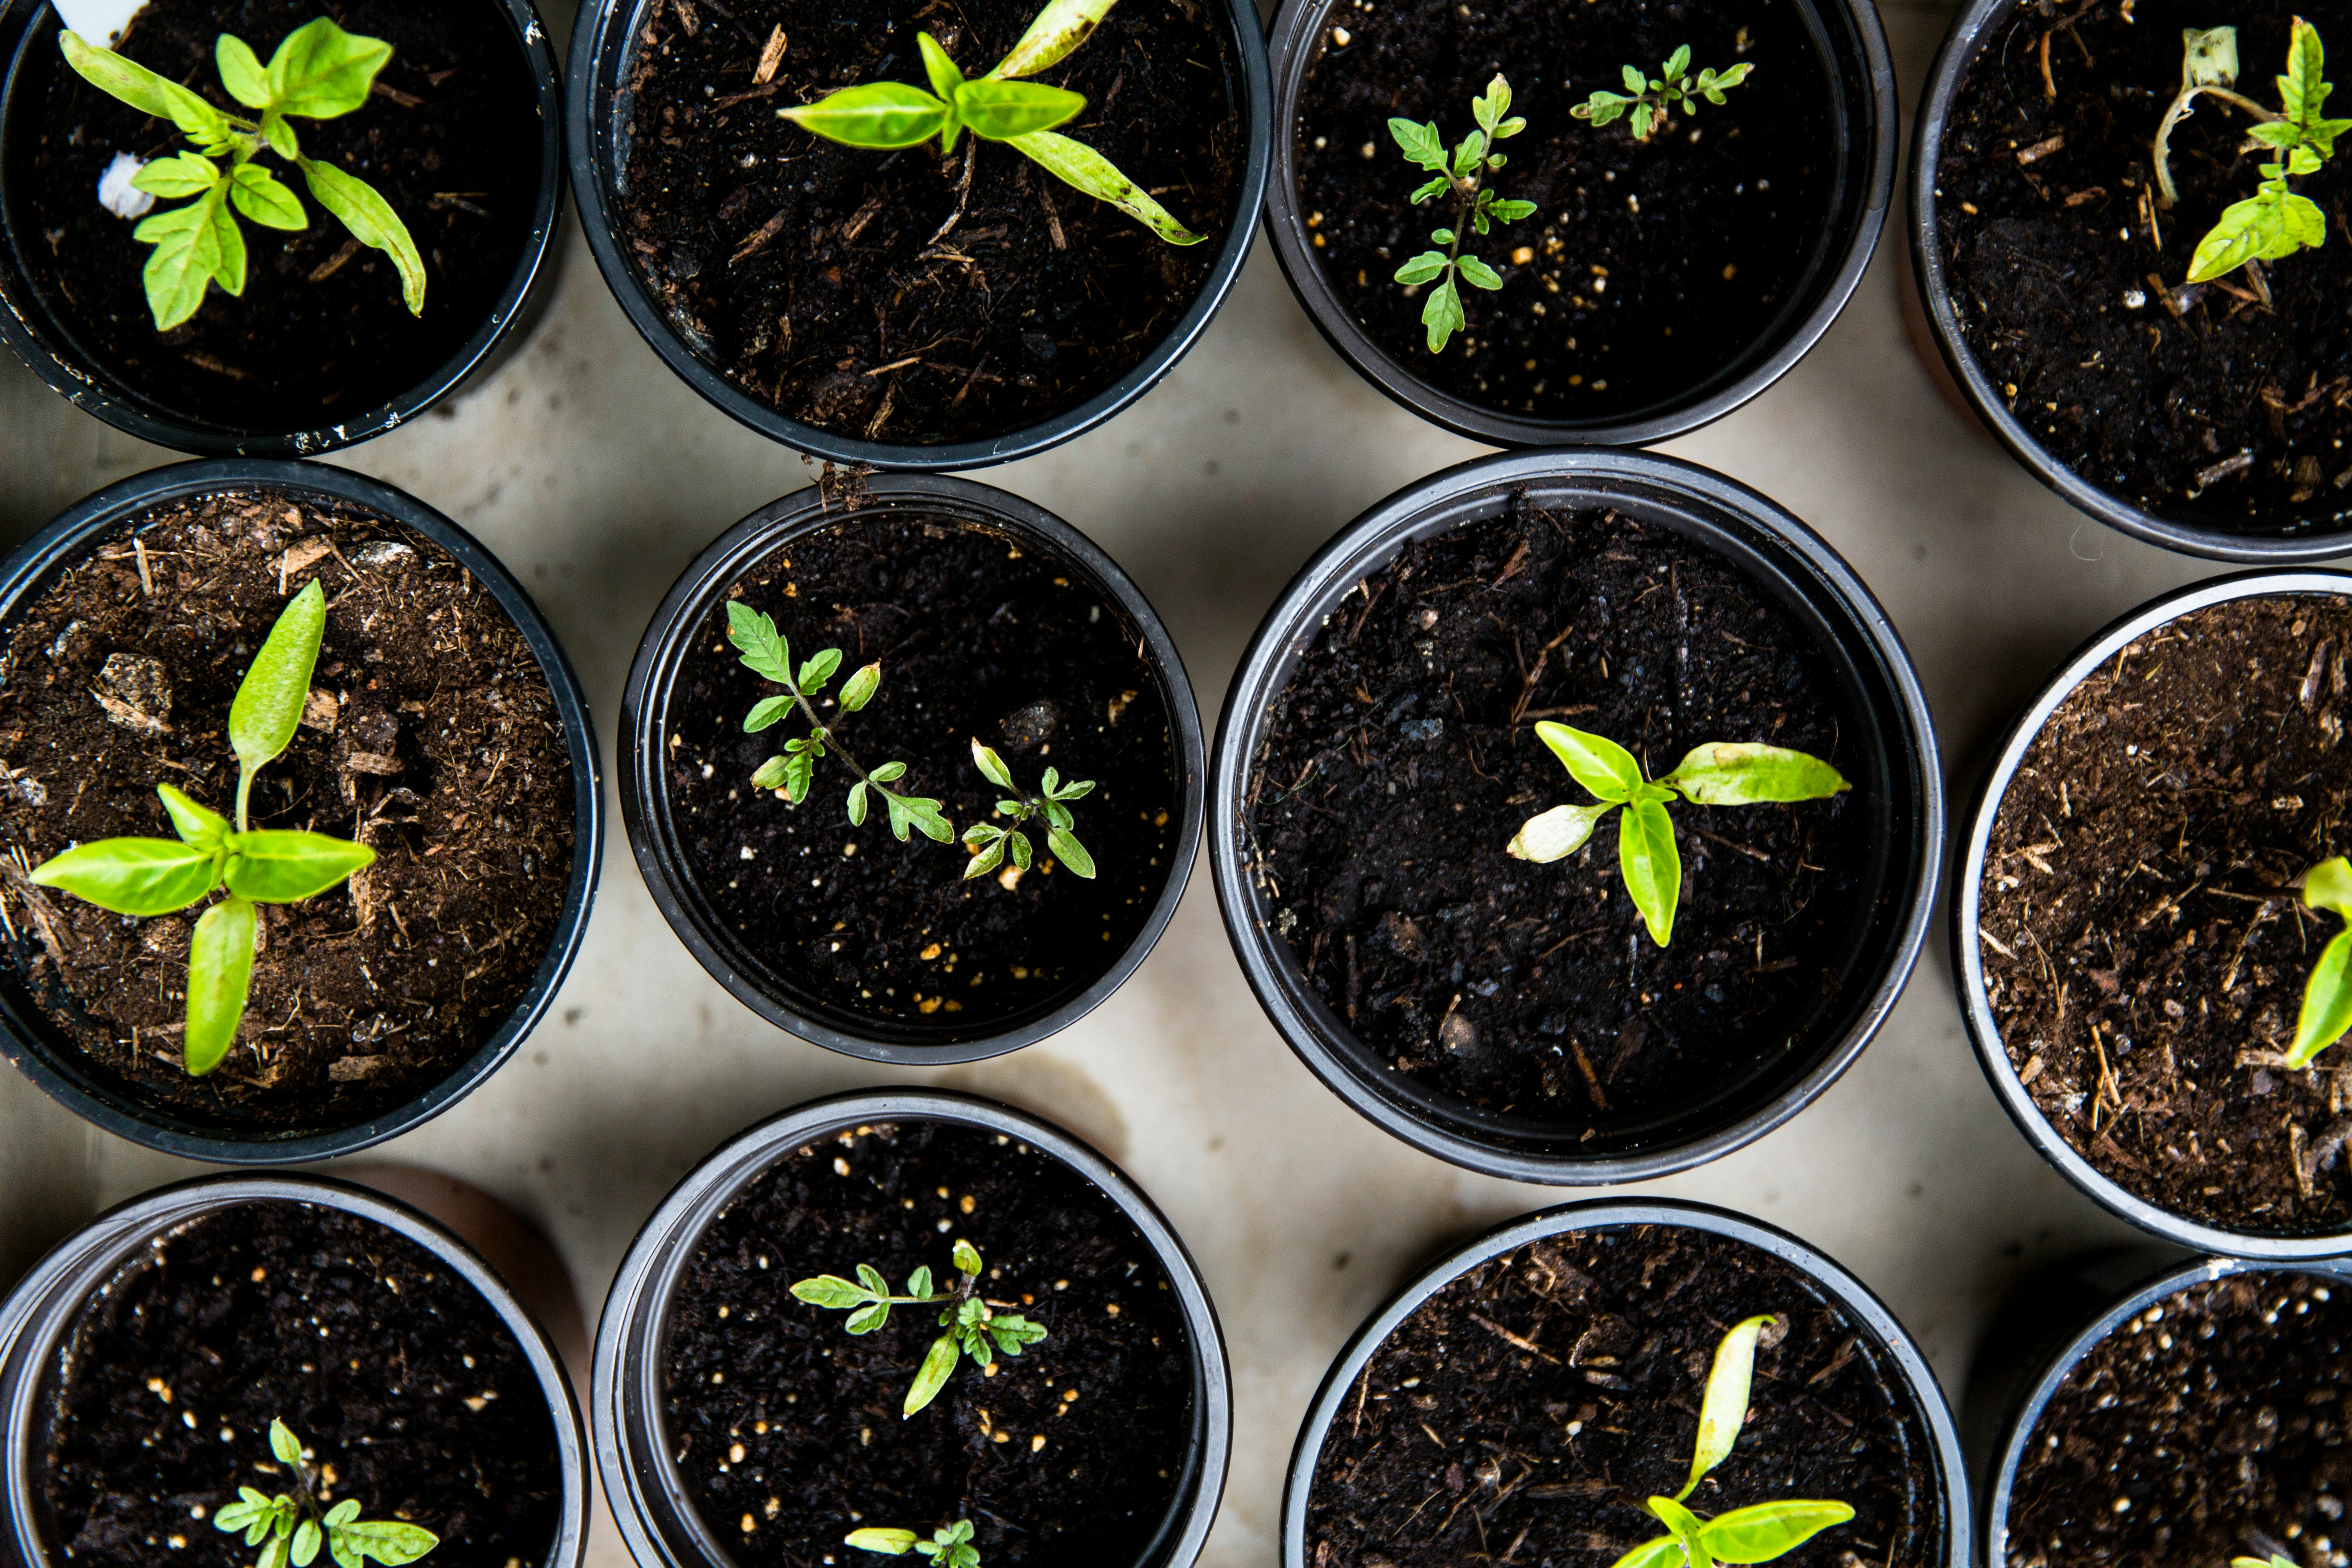
Potted Plants: Use drip irrigation to water multiple pots with ease.
Lawns: Install a larger system to keep your lawn green and lush.
Conclusion
Building a DIY irrigation system is a straightforward project that offers numerous benefits for your garden. By following this guide, you can create a customized watering solution that saves water, time, and effort while promoting healthier plant growth. Whether you have a small flower bed or a large vegetable garden, a drip irrigation system is a valuable addition to your gardening toolkit.
Other Blogs
Other Similar Blogs
Your go-to destination for insightful articles, tips, and inspiration on all things landscaping and outdoor living